

*Finished granny square measures approximately 10" x 10"
Materials needed:
-Any Super Chunky #6 weight scrap yarn (I used Lion Brand Thick & Quick yarn in Fig, Cranberry, Hudson Bay, Navy + Loops & Threads Cozy Wool yarn in “Velvet” in the example tutorial square pics below)
-11.5mm crochet hook
-Scissors
-Tapestry needle or Smaller crochet hook (to help weave in ends)
Abbreviations:
Ch = chain
St = stitch
Sl st = slip stitch
Sc = single crochet
Dc = double crochet
How to change yarn colors:
When you reach the very last stitch of the round, DO NOT complete the
last “yarn over and pull through” of that stitch – instead, use the next
color to pull through and complete that final stitch. Cut the previous
yarn color, leaving a 4 to 5” tail, and tie it to the tail of the new yarn
color you just attached.
Granny Square Directions:
Round 1: Ch 3, and sl st to the 1st ch to create a loop.
Then, ch 2 (counts as 1st dc), and work 2 dc into the loop. Ch 2 (creates
1st “corner”) *work 3 dc into the same loop, ch 2* repeat from * two
more times, creating 4 dc clusters total. Then insert hook as if to sl st to
the top of the beginning ch 2, and pull through with a new color.


Round 2: Ch 2, turn work. Work 2 dc into the 1st ch-2 space from round
below.

Ch 2, and work 3 dc into the SAME ch-2 space (this creates the
1st corner for this round). *3 dc in the next ch-2 space from the
previous round, ch 2, 3 dc in the SAME space*

Repeat from * two more
times*, once in each remaining ch-2 space from the previous round.
Then insert hook as if to sl st to the top of beginning ch 2, and pull
through with a new color.

Round 3: Ch 2, turn work. Work 2 dc into the 1st cluster space from
round below.

Then, work 3 dc into the next ch-2 space from previous
round.

Ch 2, and work 3 dc into the SAME ch-2 space from the previous
round (creating the 1st corner of the round) *work 3 dc into the next
cluster space from the previous round.

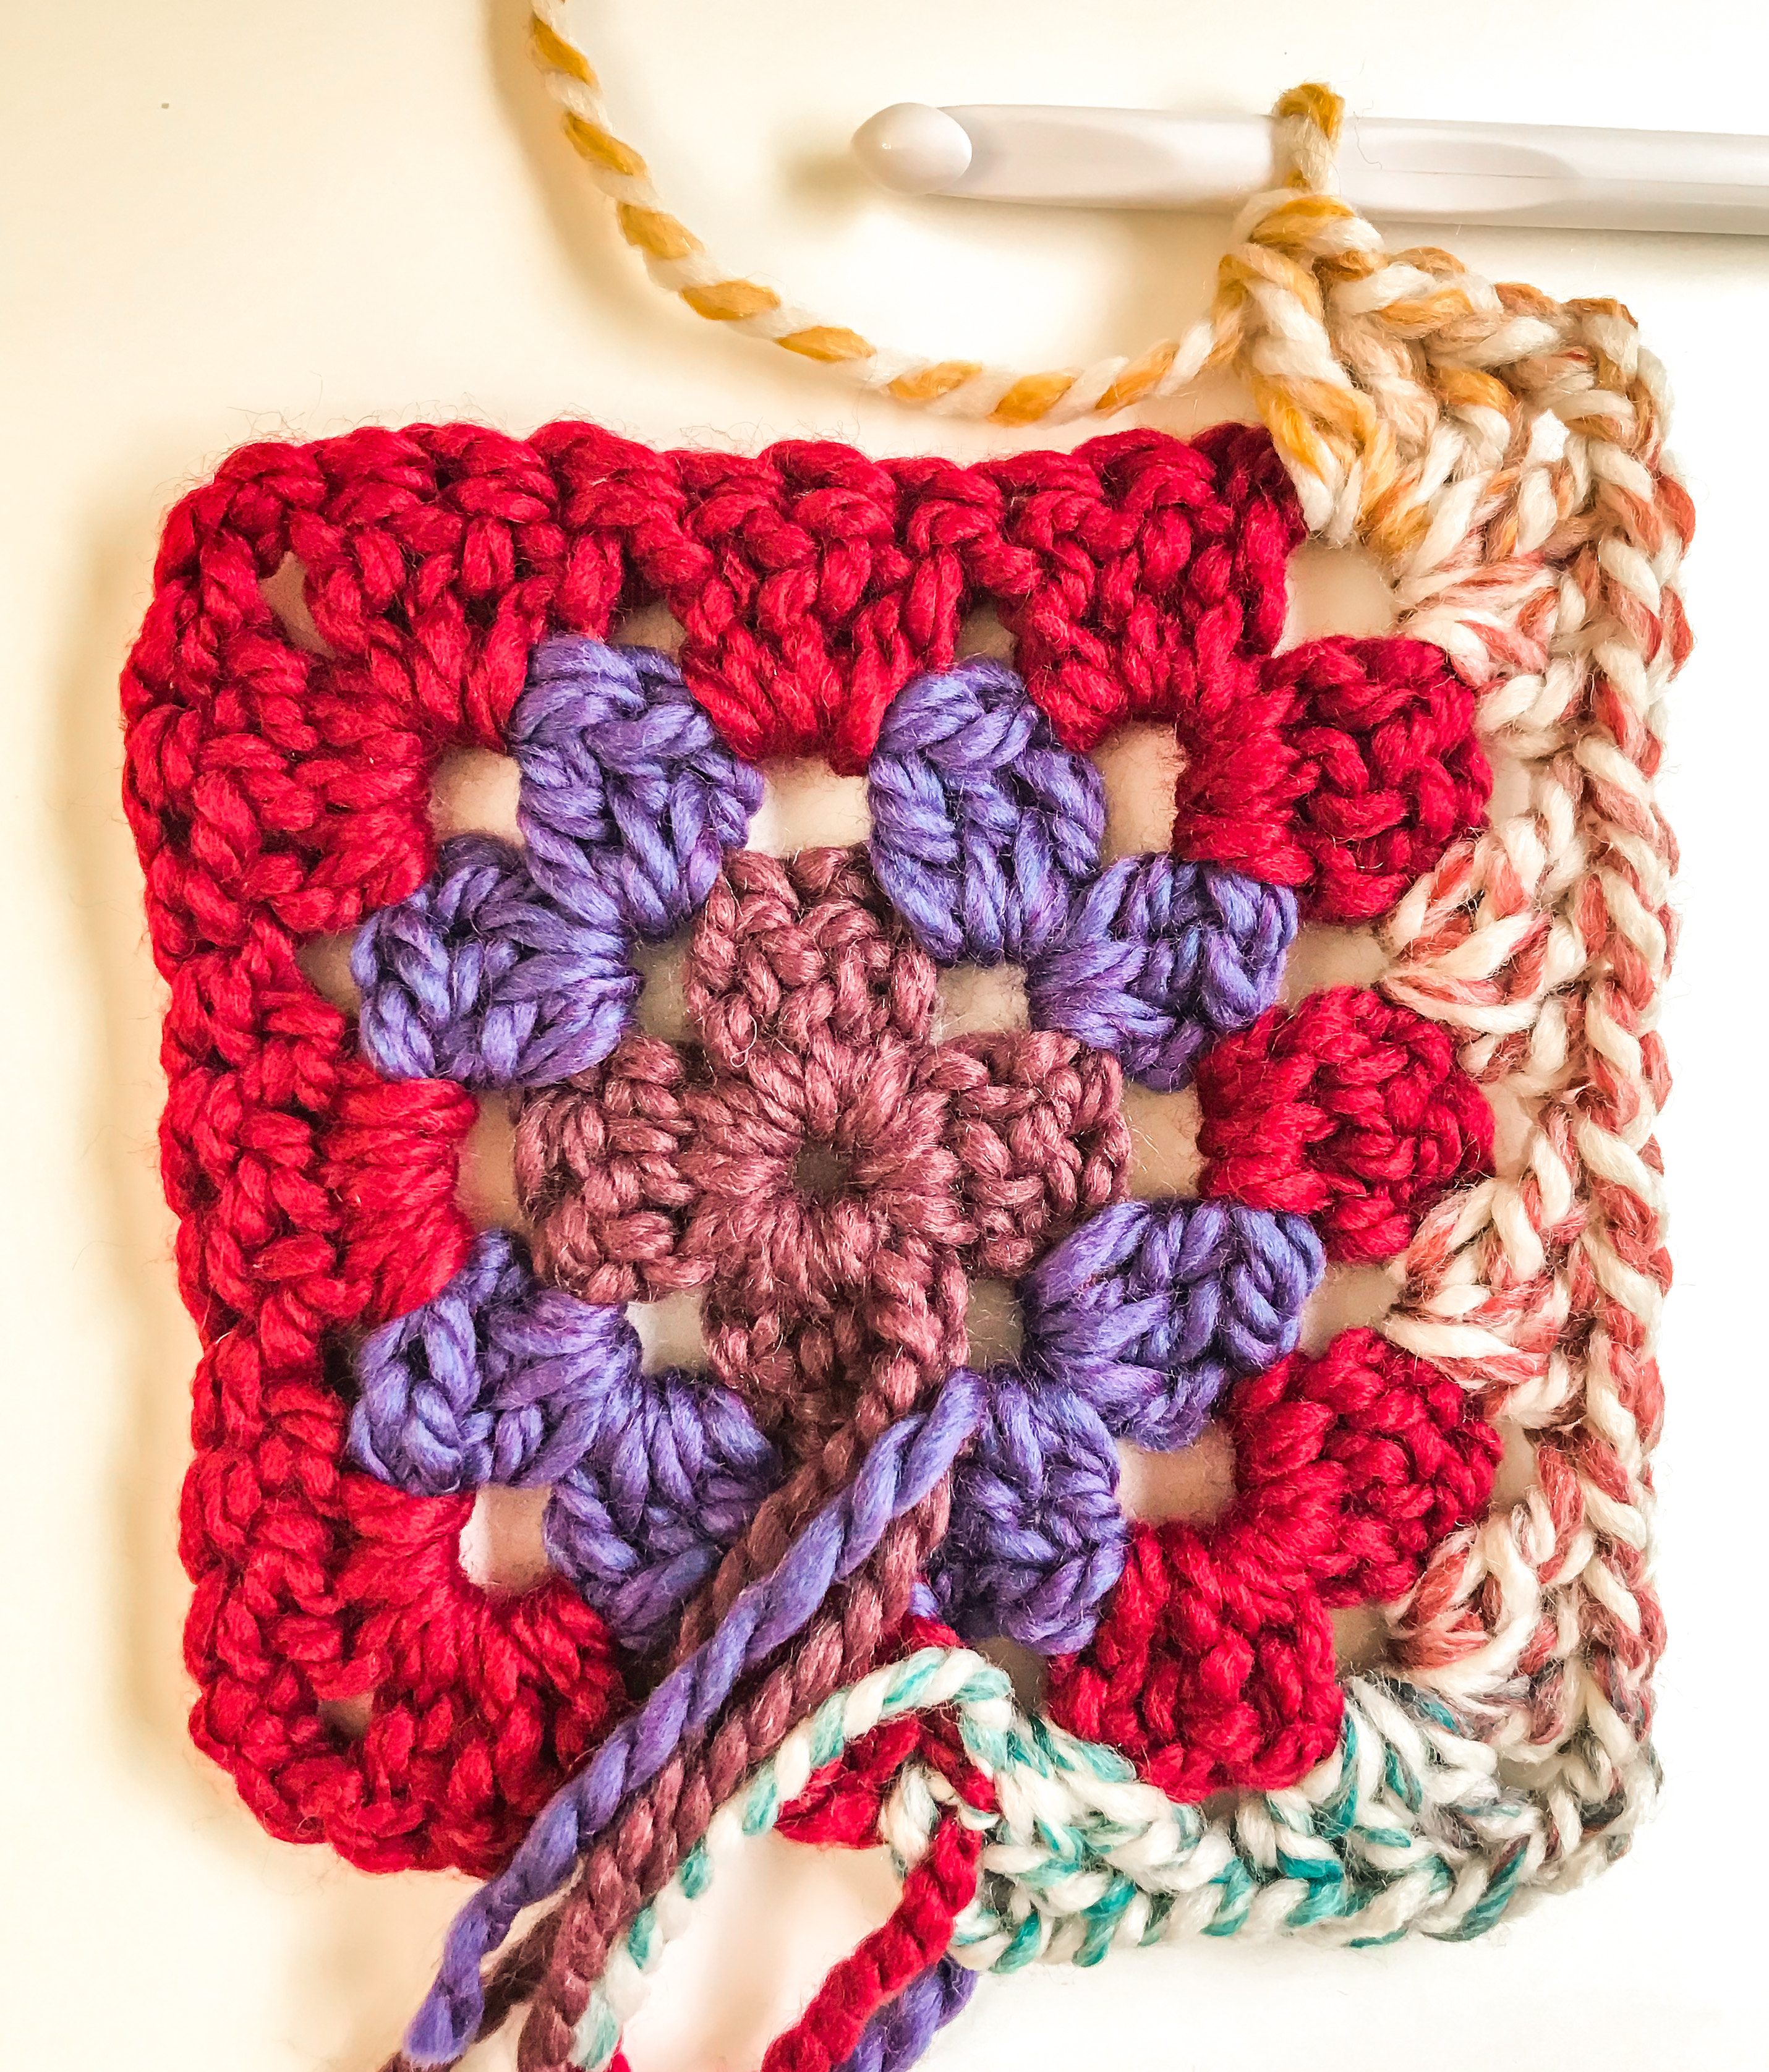
Then, work 3 dc into the next ch-2 space from previous round. Ch 2, and work 3 dc into the SAME ch-2 space from the previous round (creating another corner)* Repeat from * around, putting a 3 dc cluster into each regular cluster space from the previous round, and 3 dc, ch 2, 3 dc into each “corner” of the round. Then insert hook as if to sl st to the top of the beginning ch 2, and pull through with a new color.

Round 4: Ch 2, turn work. Work 2 dc into the 1st cluster space from
round below. Then, work 3 dc into the next ch-2 space from previous
round. Ch 2, and work 3 dc into the SAME ch-2 space from the previous
round (creating the 1st corner of the round) *work 3 dc into each of the
next 2 cluster spaces from the previous round. Then, work 3 dc into the
next ch-2 corner space from previous round. Ch 2, and work 3 dc into
the SAME ch-2 corner space from the previous round (creating another
corner)*
Repeat from * around, putting a 3 dc cluster into each regular
cluster space from the previous round, and 3 dc, ch 2, 3 dc into each
“corner” of the round. Then insert hook as if to sl st to the top of the
beginning ch 2, and pull through with a new color.

Round 5: Ch 2, turn work. Work 2dc into the 1st cluster space from
round below. Then, work 3 dc into the next ch-2 space from previous
round. Ch 2, and work 3 dc into the SAME ch-2 space from the previous
round (creating the 1st corner of the round)

Continue around, putting a 3 dc cluster into each regular cluster space from the previous round, and 3 dc, ch 2, 3 dc into each ch-2 space “corner” of the round. Slip stitch to the top of the beginning ch 2 to join round.

Round 6: Ch 1 (do NOT turn), and work 1 sc into each stitch (or between each cluster space from previous round),
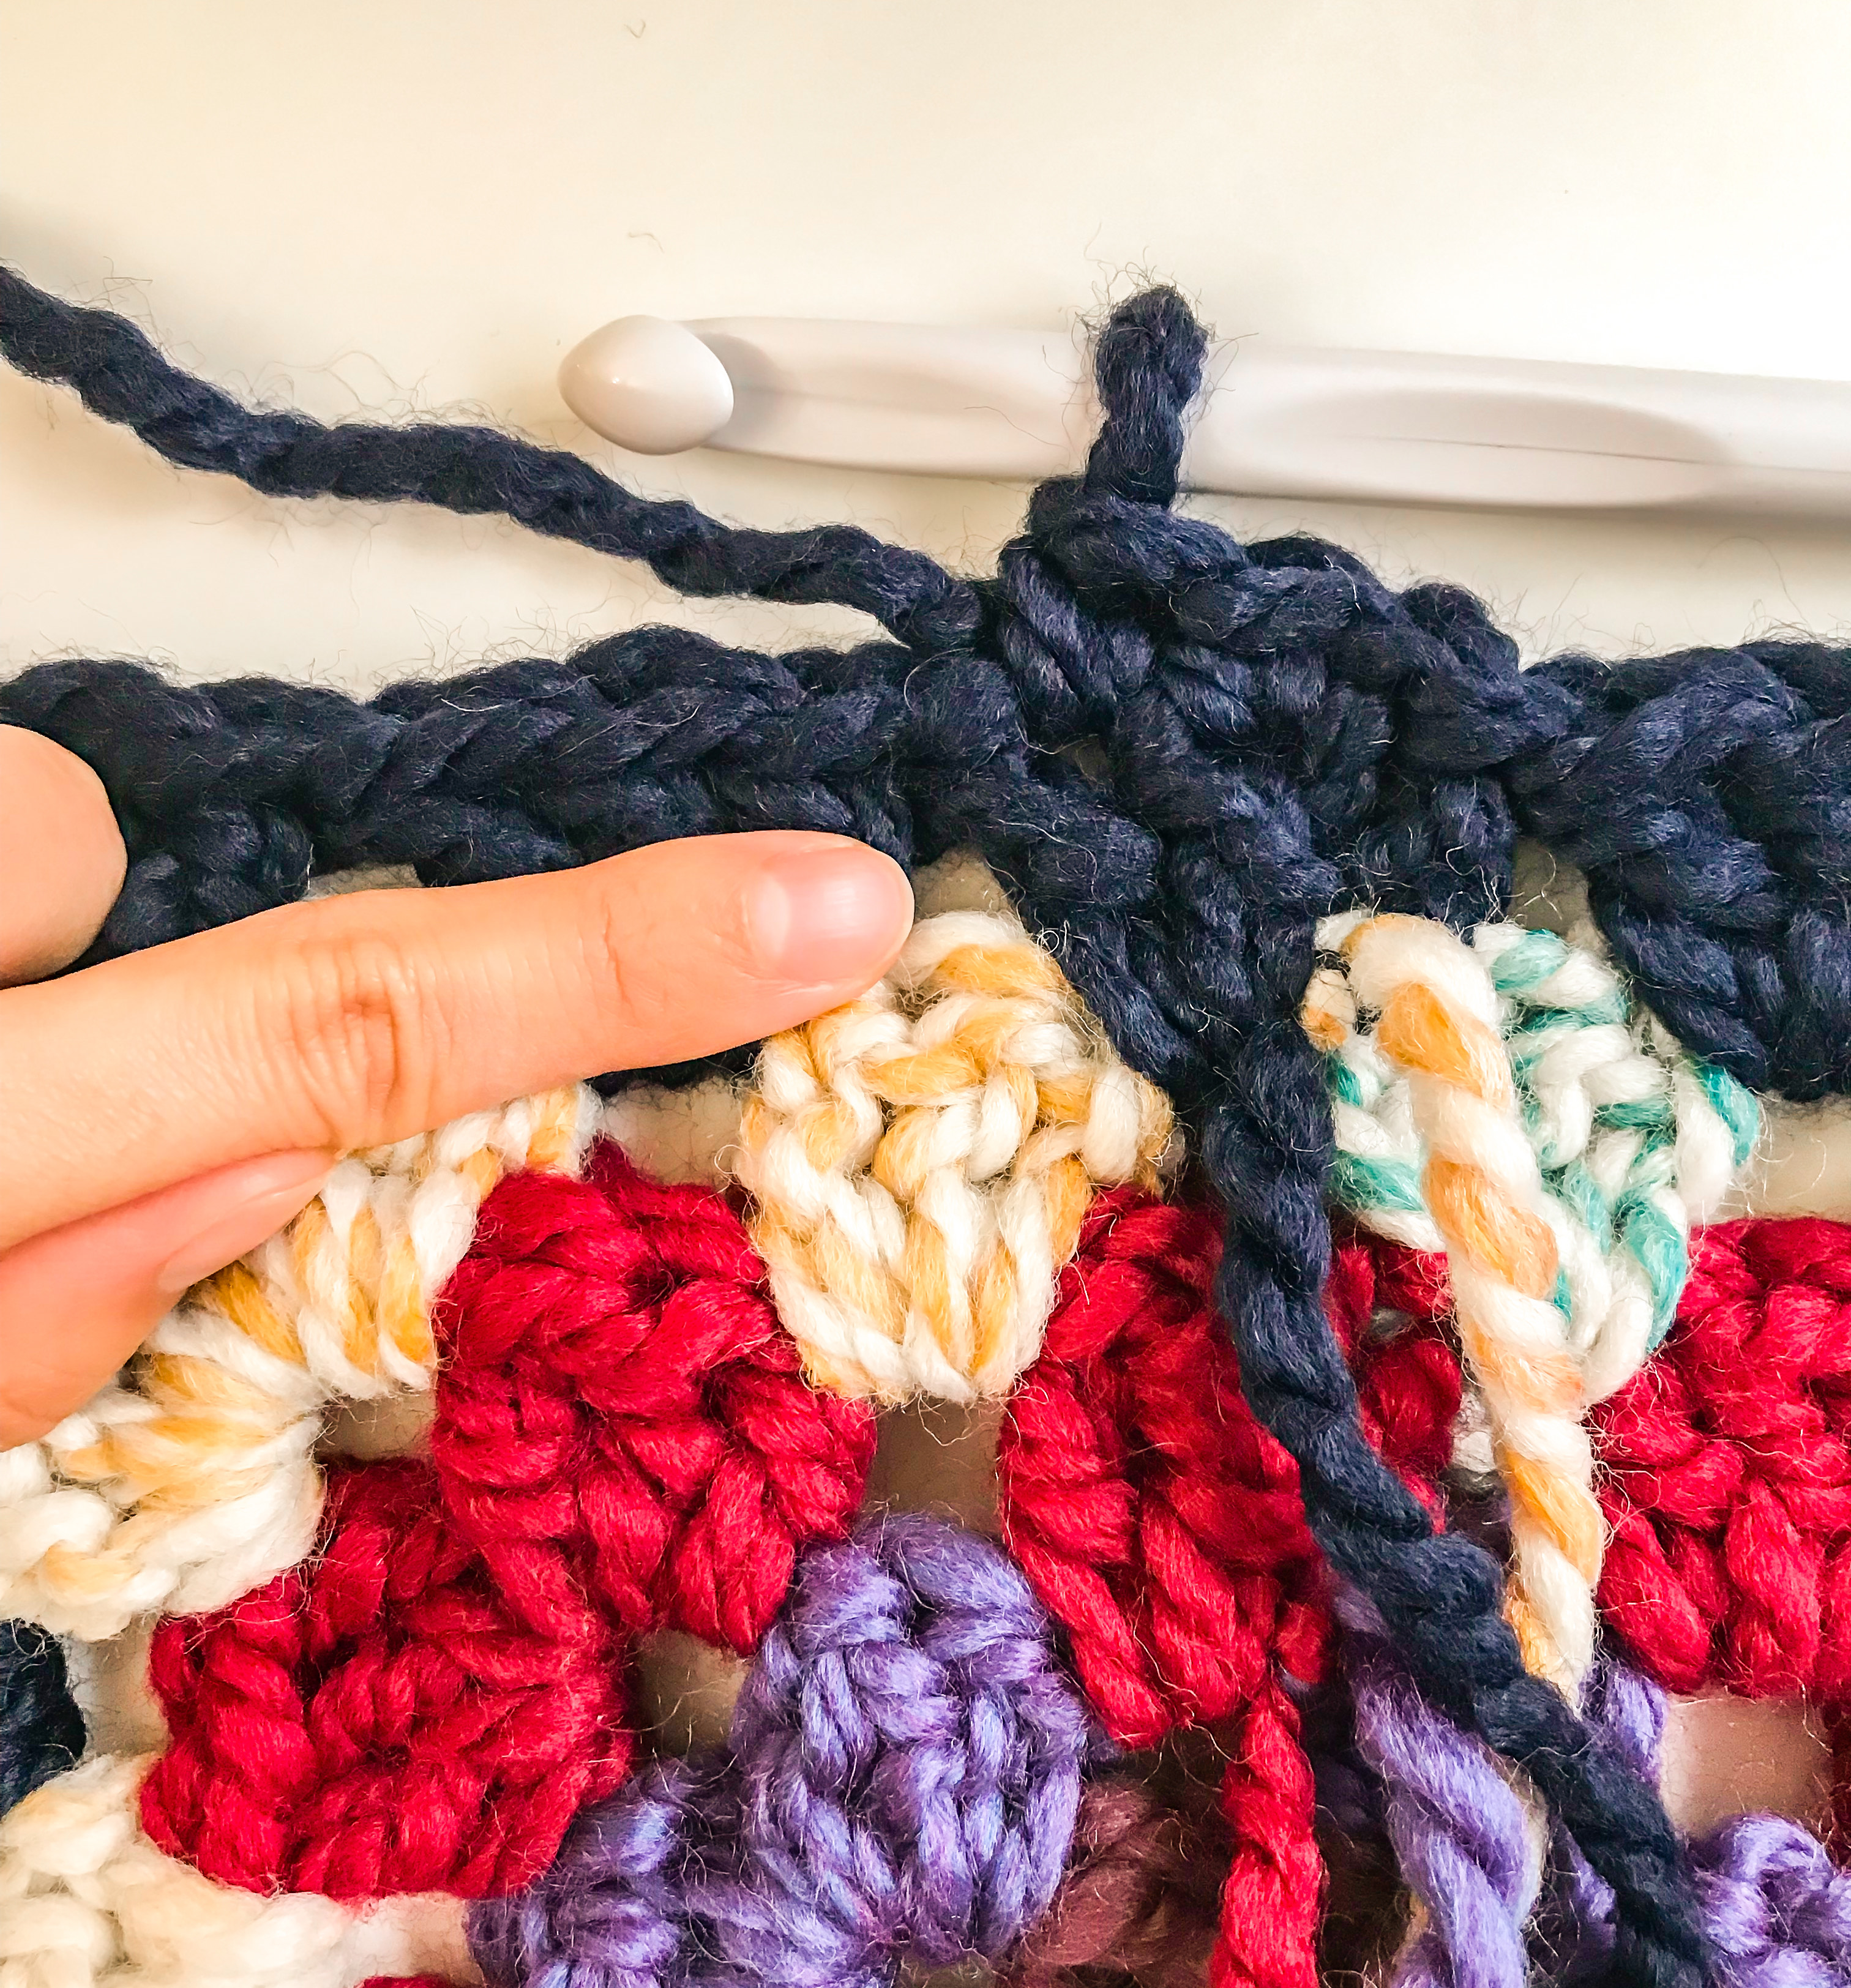
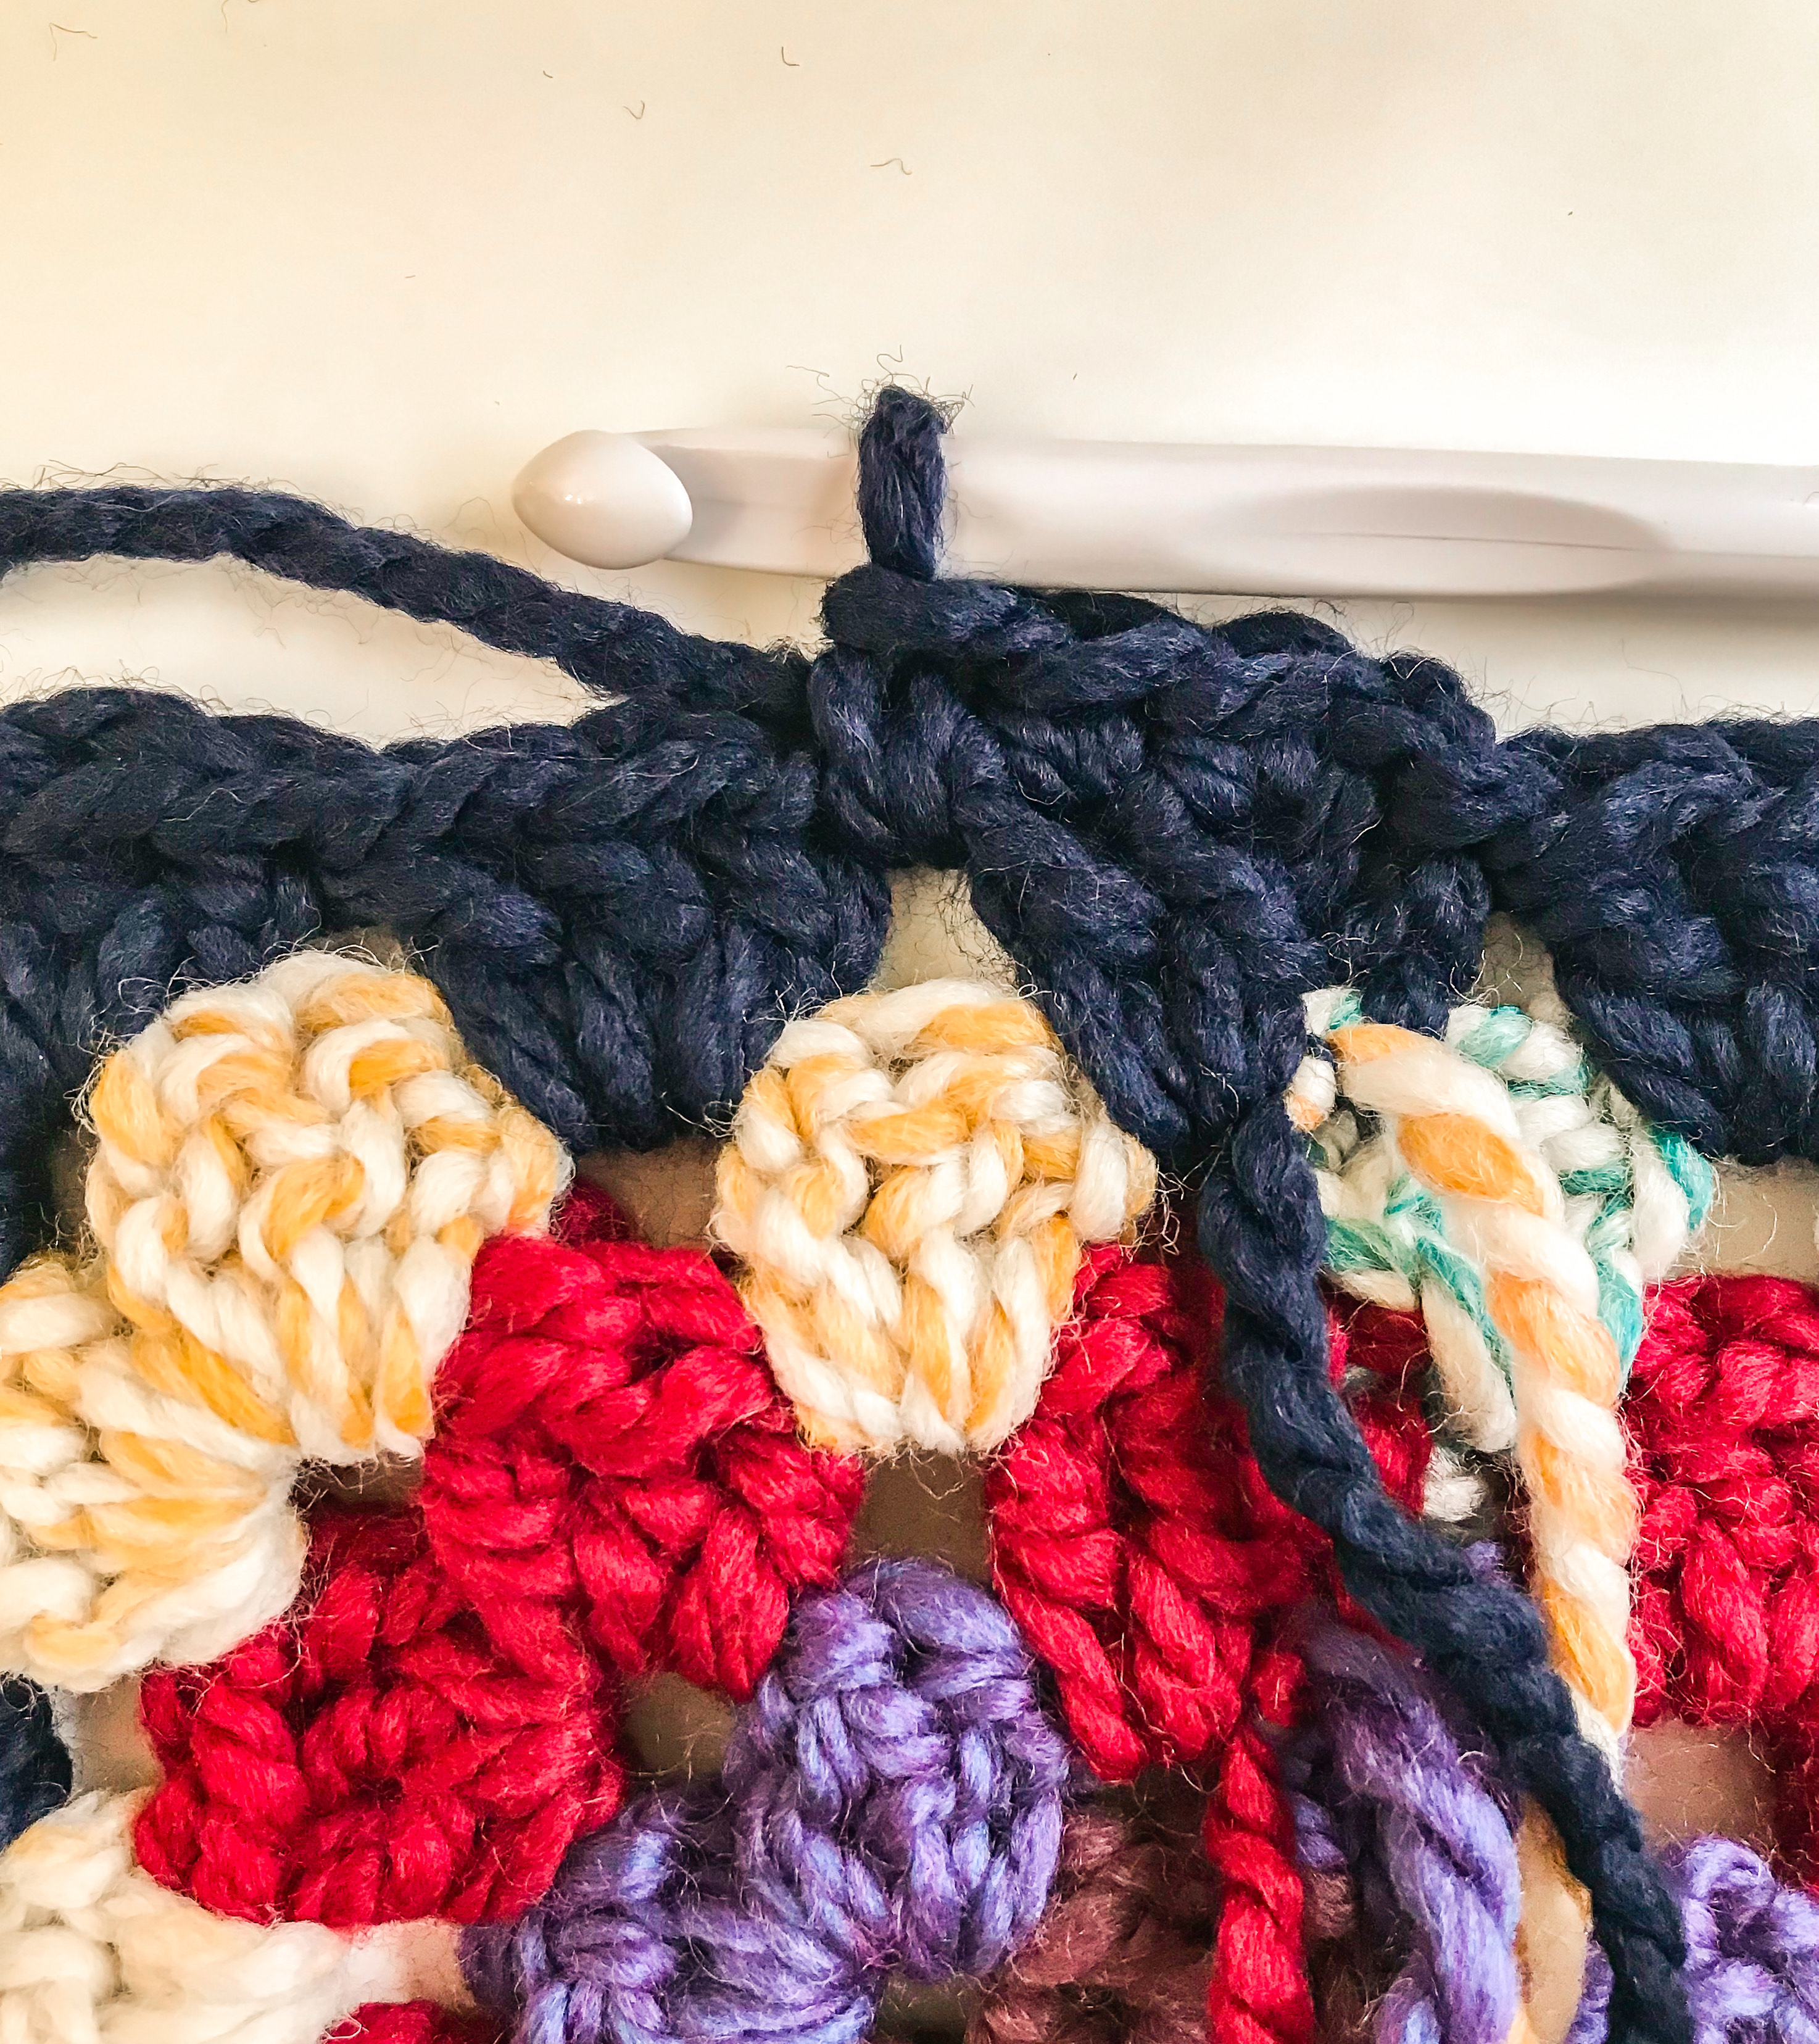
and work 3 sc in each ch-2 space “corner” from the previous round, working around the entire round.


Slip stitch to the 1st sc of the round to join.


Cut yarn, and pull through. Weave in all ends into the “back” (wrong side) of square. All finished! 😊
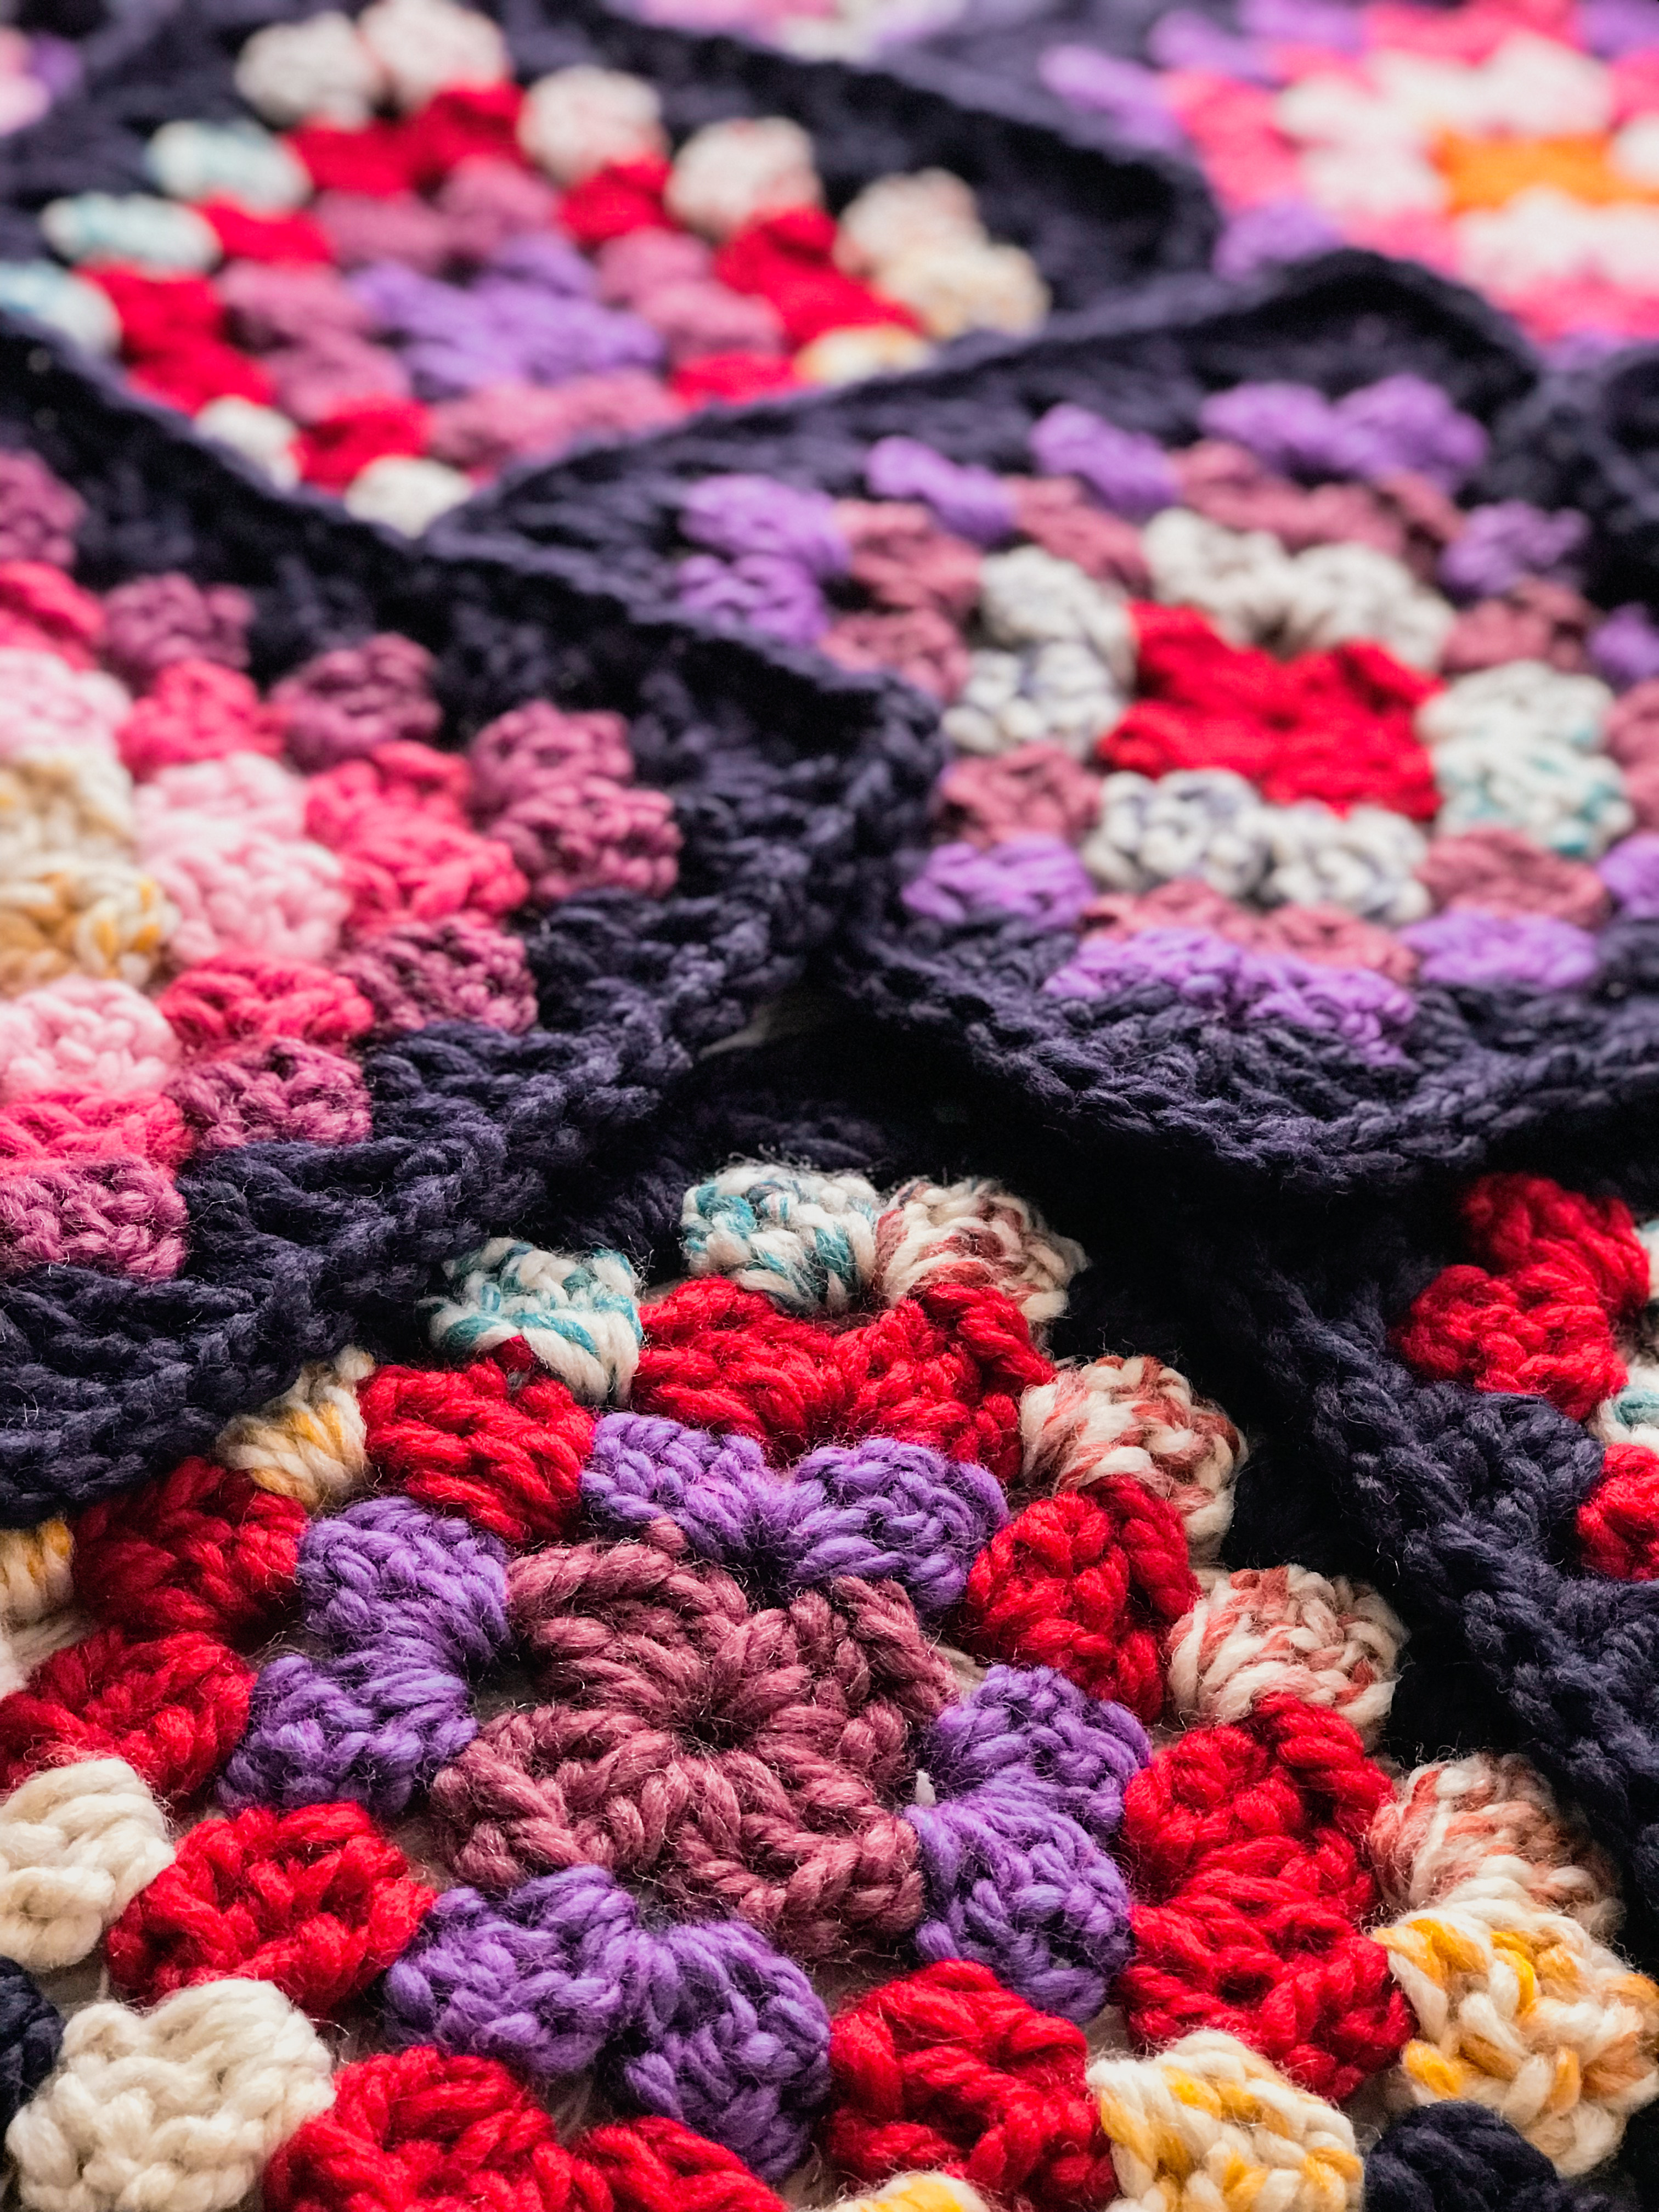
I used this granny square pattern to design my Blooming Garden Blanket in the pics below!
.jpg)
.jpg)
.jpg)
You can find all the details (which yarn colors / combinations I used for every single square, how to sew them together, how to finish the blanket off with a fun border, etc.) in the instant-download, printable PDF crochet pattern in my etsy shop HERE.
Happy crocheting!
~Brenna 🌻
No comments:
Post a Comment