Thursday, February 16, 2023

The Crafter's Box Kit Review: Hand-Poured Cement Workshop


Hi everybody! Happy Thursday! πŸ˜€ Today I'm super excited to share this review of The Crafter's Box "Hand-Poured Cement Workshop" with you all! Let's get started!

This review was provided by one of my sweet friends, who completed + wrote up her opinion on this kit for you all! 😊

Details: The Crafter's Box Hand-Poured Cement Workshop


SO many fun goodies are inside this Crafter's Box workshop kit:

  • Custom silicone mold with drainage hole (to use again and again)
  • Plastic molds
  • Clear plastic cup for mixing
  • 2 pounds of cement
  • Charcoal cement pigment
  • Stir sticks
  • Plastic sheeting to protect your workspace
  • Gloves
  • Sandpaper
  • A detailed, digital workshop


Here's my sweet friends review (written in her own words) for you all! 😊

"This was a great new experience, though the results weren't as planned. I was trying for the marbled effect, but the charcoal coloring somehow settled to the bottom. I'm sure I did something wrong, but I don't know what it was. πŸ€·‍♀️

Also, apparently there was a bit of dry cement that didn't get mixed in, evidenced by the additional hole in the tiny pot. As the cement was curing, I attempted to brush away what I thought was a fairly-thick layer of dust (don't ask) and it crumbled away, leaving a hole.  Not ideal but just chalked it up to being extra drainage. I didn't think I had missed getting it all mixed together well but again, I must have. 

The bigger pot doesn't have a hole drilled in the bottom as I don't have a drill. So instead of using it for live plants, I thought it could be used for decorative, plastic succulents or flowers; substituting in glass stones for dirt.

Overall, this was a really fun project and the video instructions were very well done! I'm really happy for the opportunity to try this makers box! 

Thank you BrennaAnn πŸ˜Š"

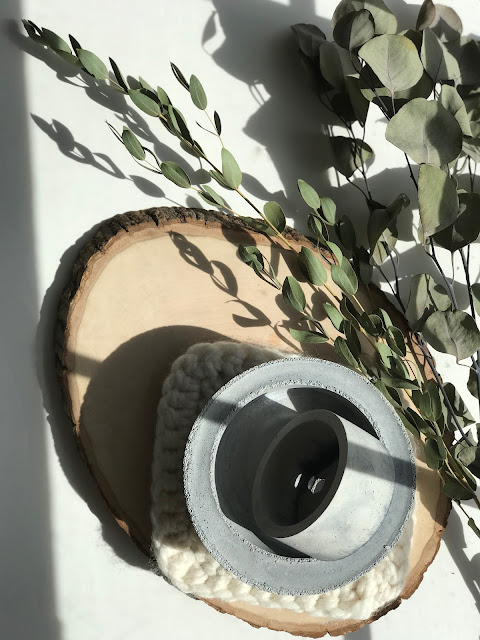
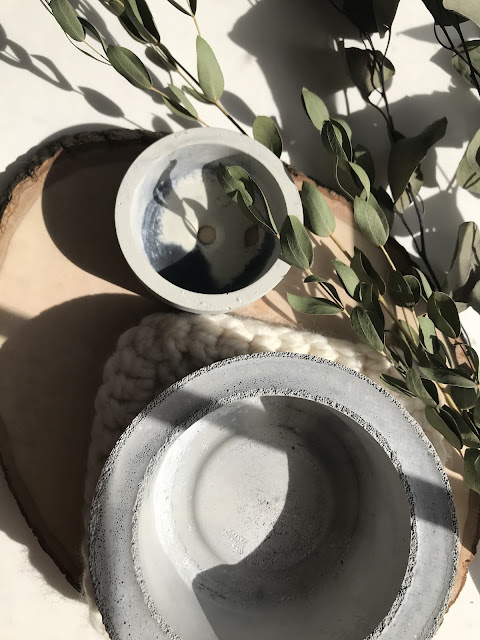
Check out how lovely her 1ST "Hand-Poured Cement" project turned out below! I think they turned out beautiful!


Thank you SO much again to my sweet friend, for providing this wonderful review of The Crafter's Box Hand-Poured Cement Workshop for all of us! 🌻


Have YOU ever tried
Hand-Poured Cement before? If so, comment below which is YOUR favorite project to make using this fun technique! 😊


Happy making everybody!

~Brenna🌻


Find + Follow Me:


All content property of BrennaAnnHandmade 2014-infinity.


Thursday, January 19, 2023

NEW CROCHET PATTERN: The Blooming Garden Granny Square Blanket Crochet Pattern by BrennaAnnHandmade


🌸 The Blooming Garden Granny Square Blanket Crochet Pattern by BrennaAnnHandmade 🌸

Happy Thursday everybody! I'm SO excited to share this brand new design (and 1st pattern release of 2023! πŸ™Œ) with you all - the Blooming Garden Granny Square Blanket!


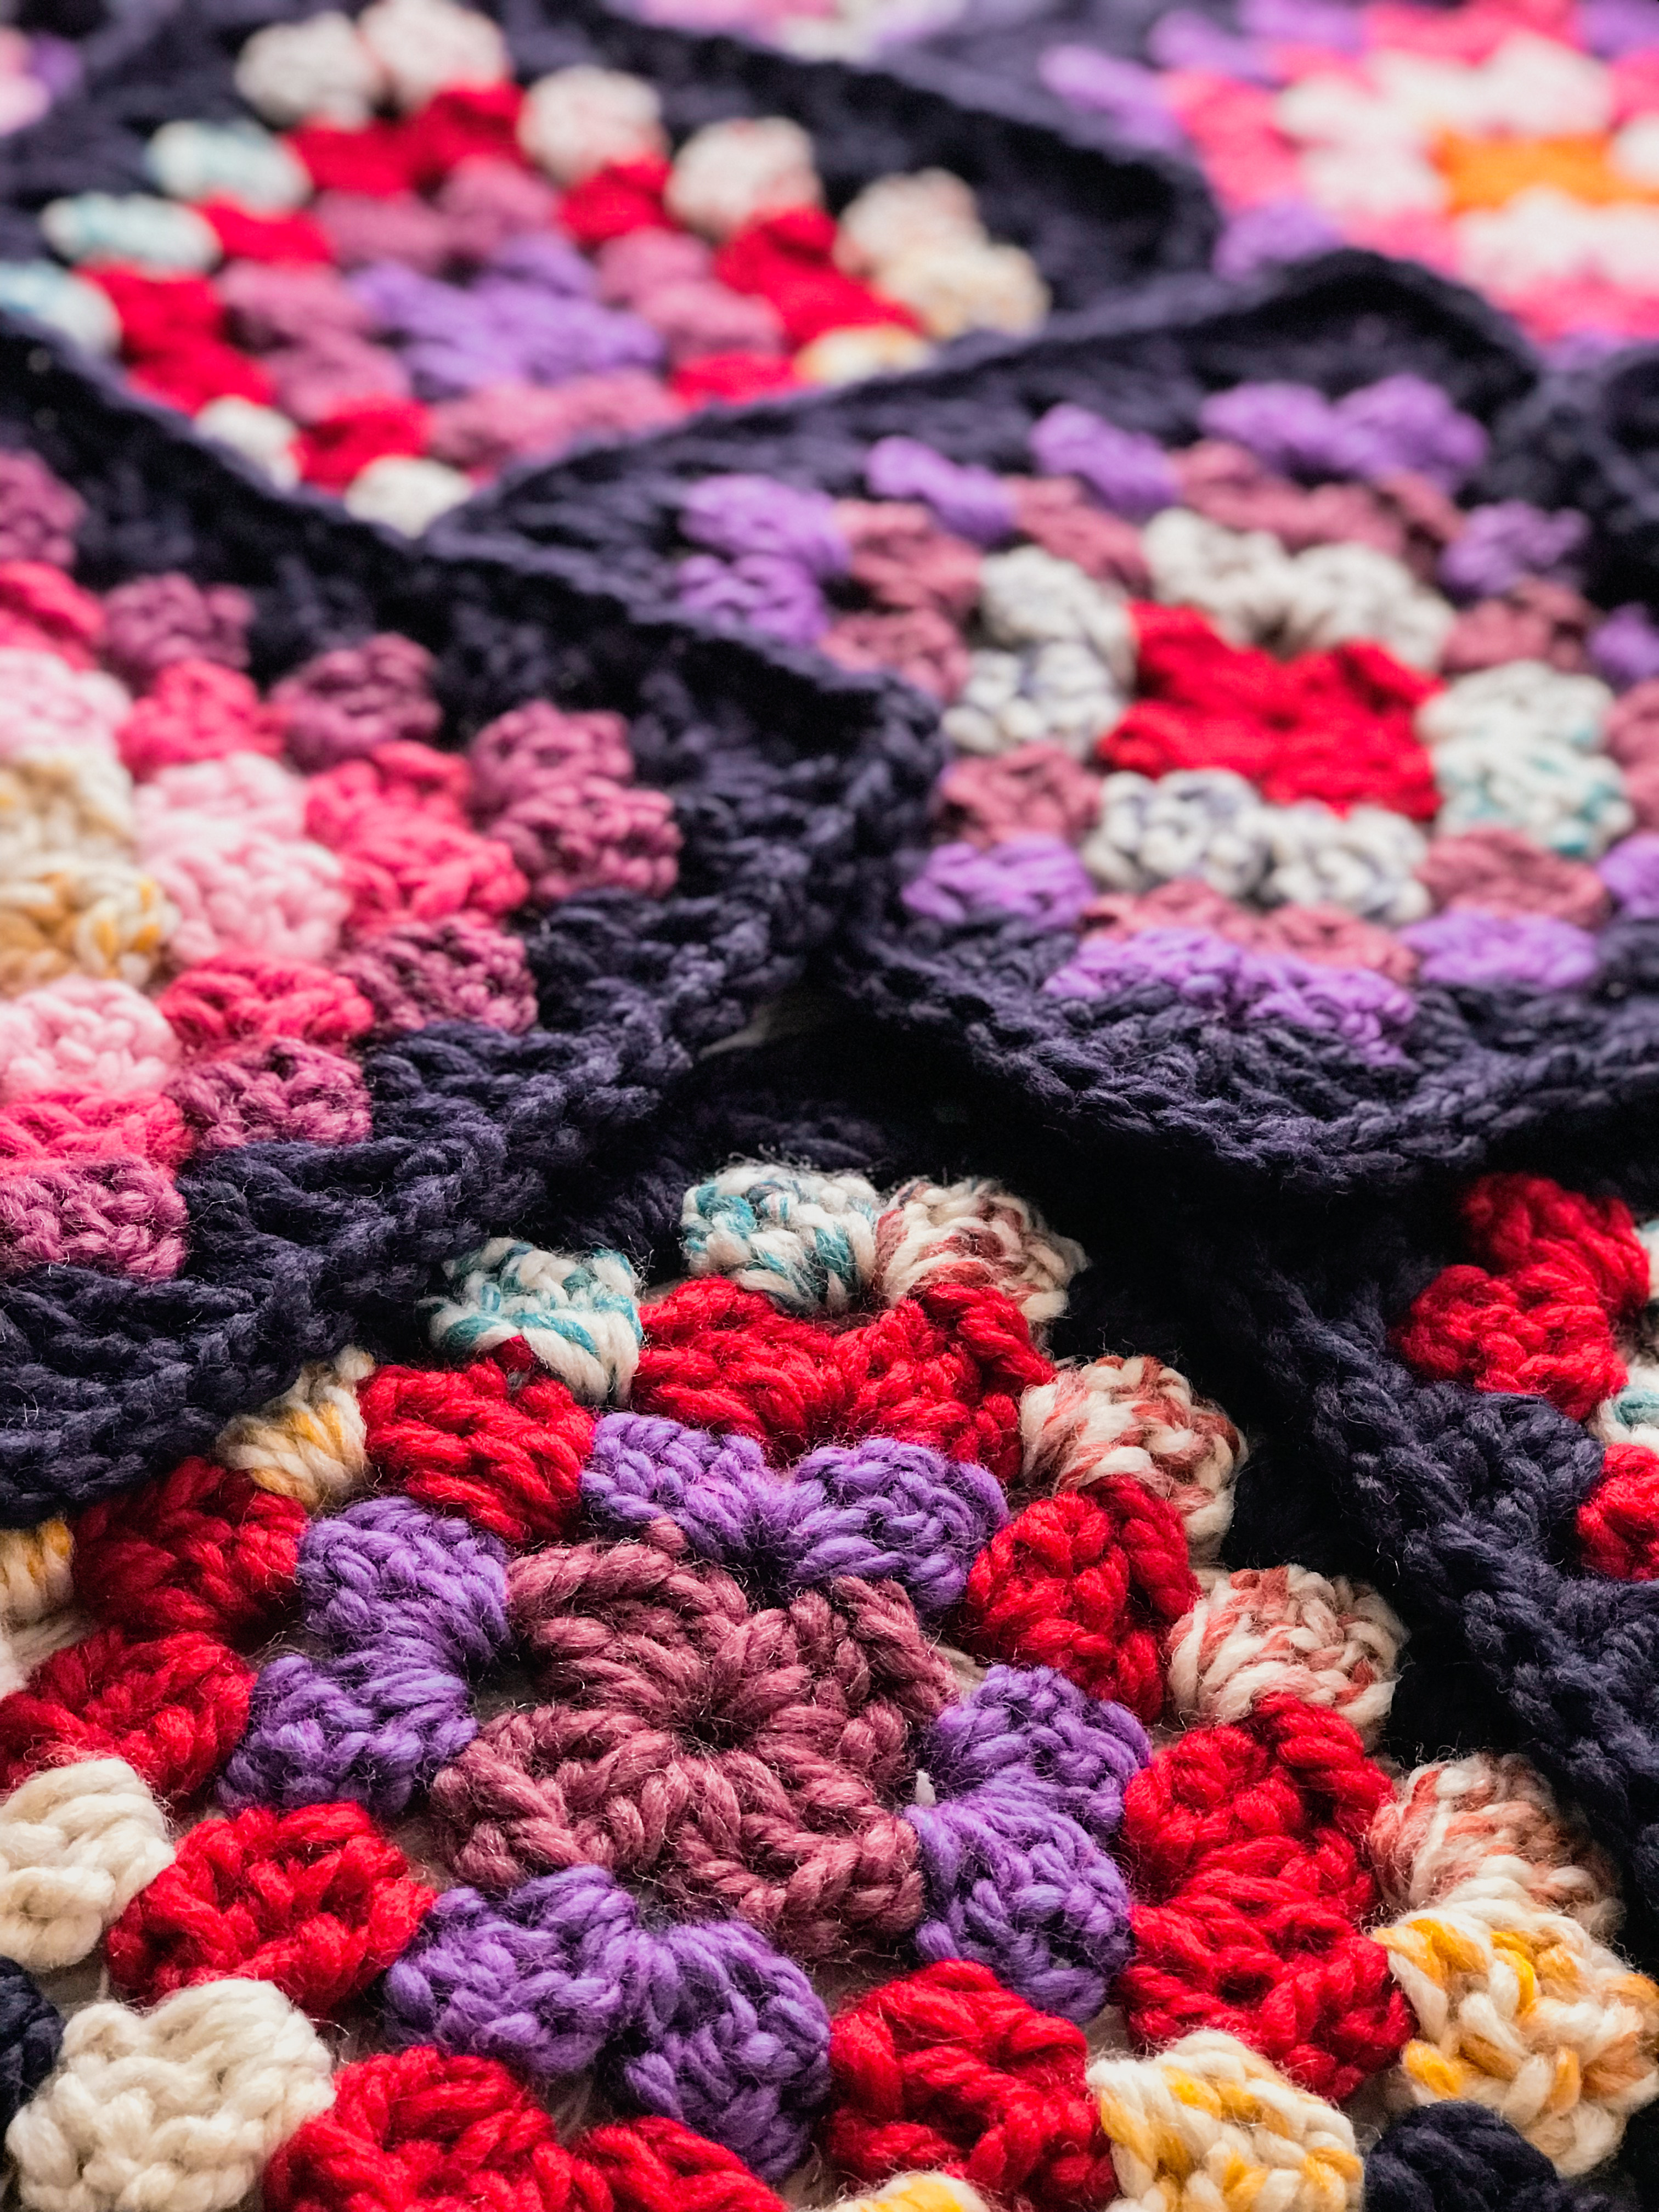
I've always wanted to design a simple, yet fun & cheery, chunky granny square blanket, & I'm so happy to finally bring this one to you all! Each one of the colorful squares are different from the rest (truly like each unique flower in a blooming garden!) & the cute centers of each square look like the center of a flower - thus the name! 😊


Because this blanket is made with super chunky yarn, each square works up super quick, & because each square is different, it makes for a fun & interesting project! Looking at all the different colors while crocheting make me happy! 


Included in the instant-download, printable PDF crochet pattern are notes on the exact colors / yarn combinations used, so you can make my exact blanket design if you'd like, or you can use it as a base template to create your own color combinations! πŸ˜‰


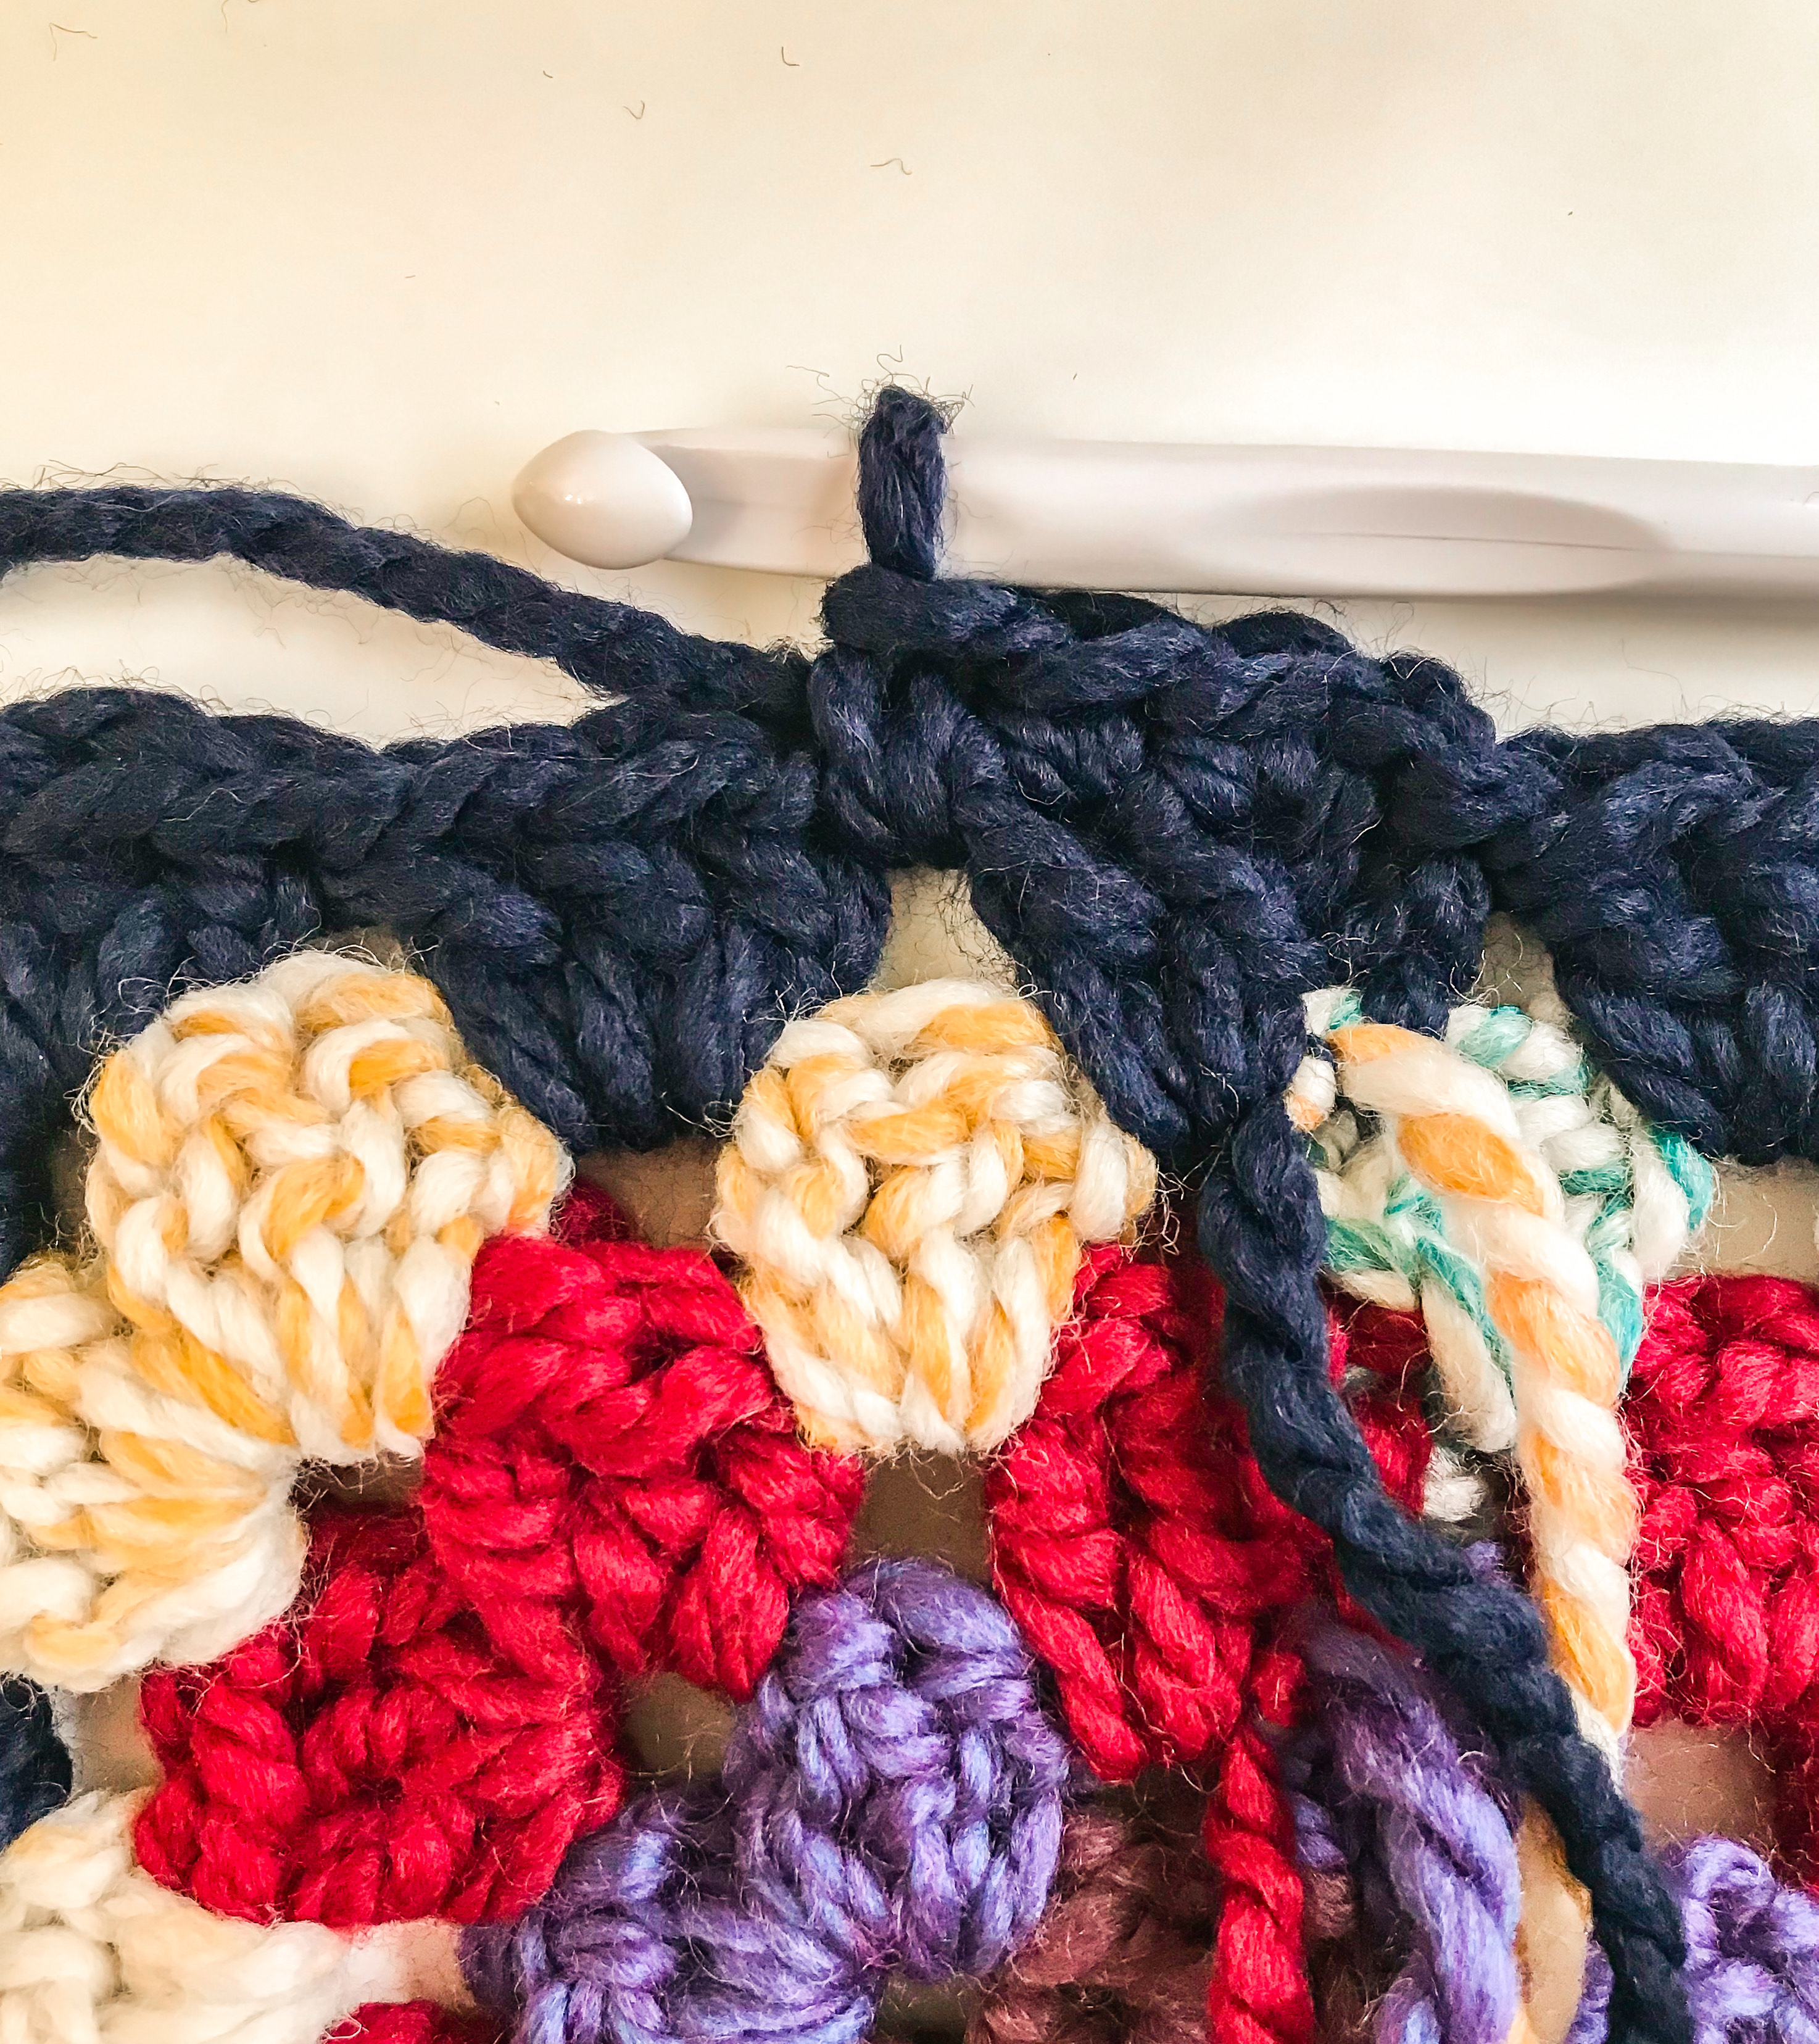
It's finished off with a chunky border in a different color that was used in some of the squares, to help tie everything together with a fun contrast & pop of color!


Are you ready to get started? Great! Here's what you'll need:


Finished dimensions: measures approximately 58” x 68”


Materials needed:

-Approximately 2,936 yds total super bulky #6 yarn (See the colors /
approx. amounts I used in the pattern below, or create your own color
combination )
-11.5mm crochet hook
-Scissors
-Tapestry needle
-Smaller crochet hook (not necessary, but I like to use to help weave in
ends)


Once your new
Blooming Garden blanket is finished, I would LOVE to see finished-product-pics! (It would just make my day!) You can either post them here, OR tag me in a pic on Instagram. (@brennaannhandmade) I hope you all enjoy making this cute & colorful design, as much as I did! 😊


Happy crocheting!

~Brenna 🌻


Find + Follow Me:


All content property of BrennaAnnHandmade 2014-infinity.

FREE CROCHET PATTERN: How to Crochet a Simple, Super Chunky Granny Square by BrennaAnnHandmade


 How to Crochet a Simple, Super Chunky Granny Square by BrennaAnnHandmade


*Finished granny square measures approximately 10" x 10"


Materials needed:

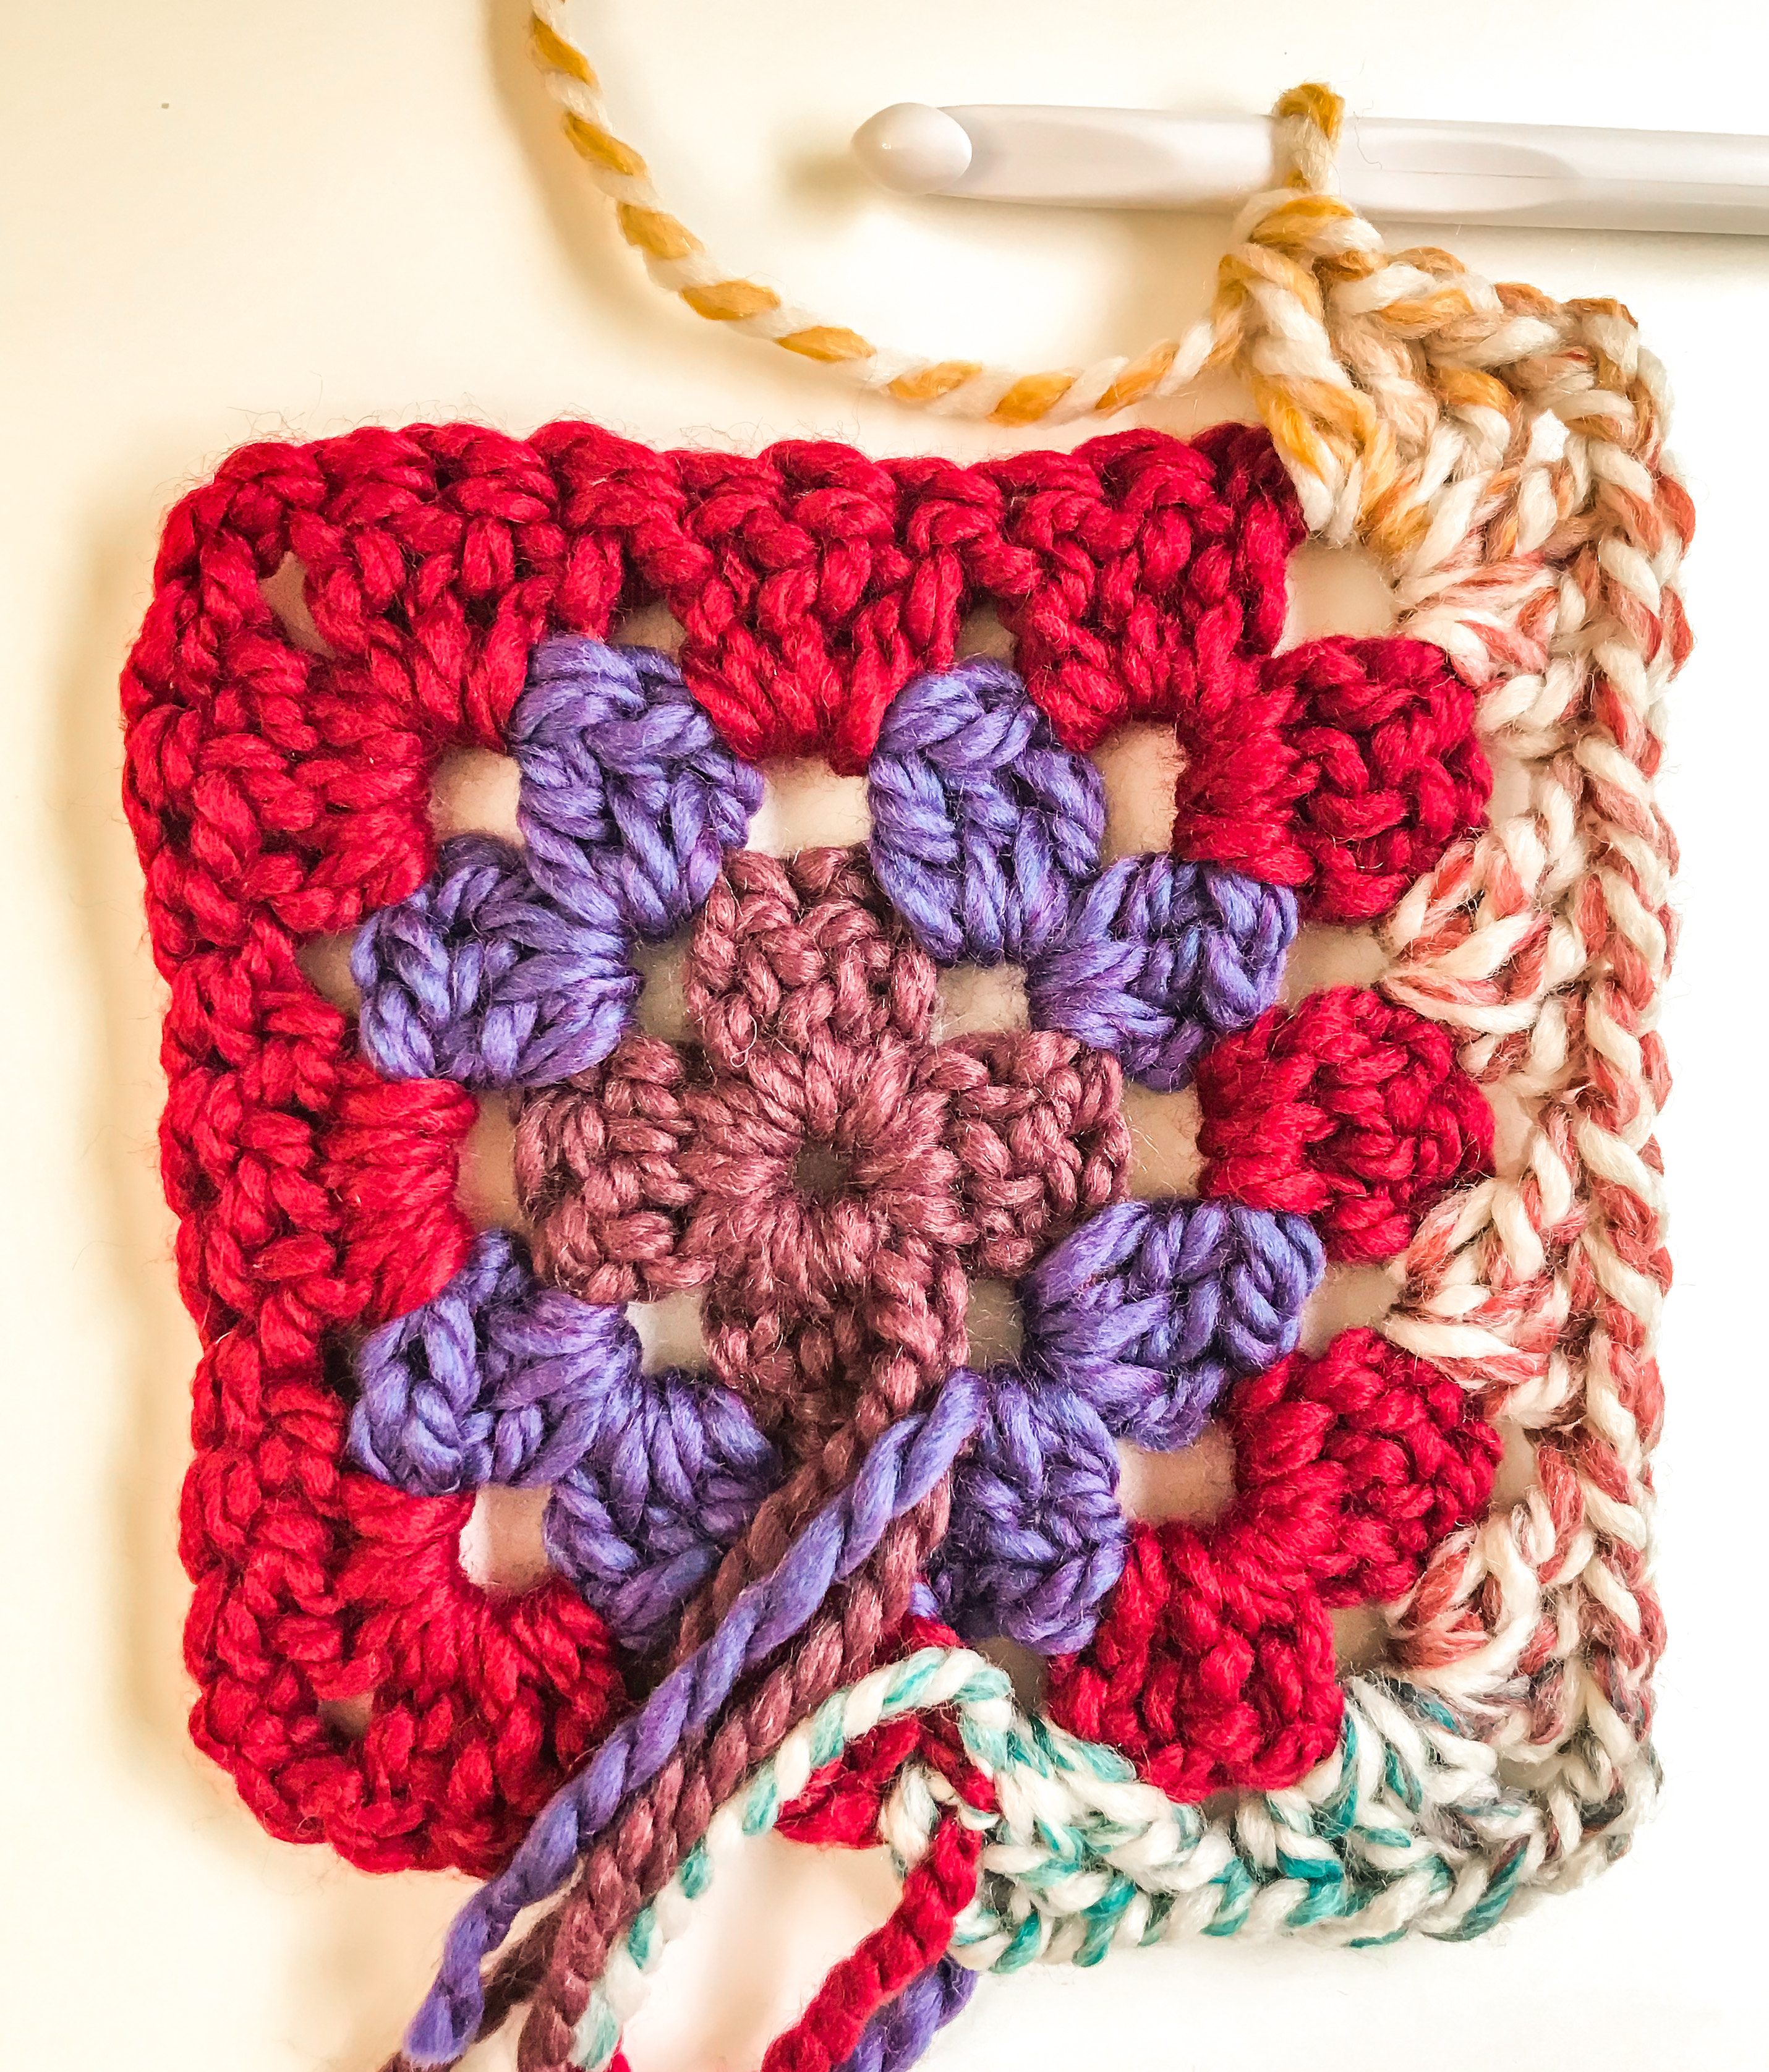
-Any Super Chunky #6 weight scrap yarn (I used Lion Brand Thick & Quick yarn in Fig, Cranberry, Hudson Bay, Navy + Loops & Threads Cozy Wool yarn in “Velvet” in the example tutorial square pics below)

-11.5mm crochet hook

-Scissors

-Tapestry needle or Smaller crochet hook (to help weave in ends)


Abbreviations:

Ch = chain

St = stitch

Sl st = slip stitch

Sc = single crochet

Dc = double crochet


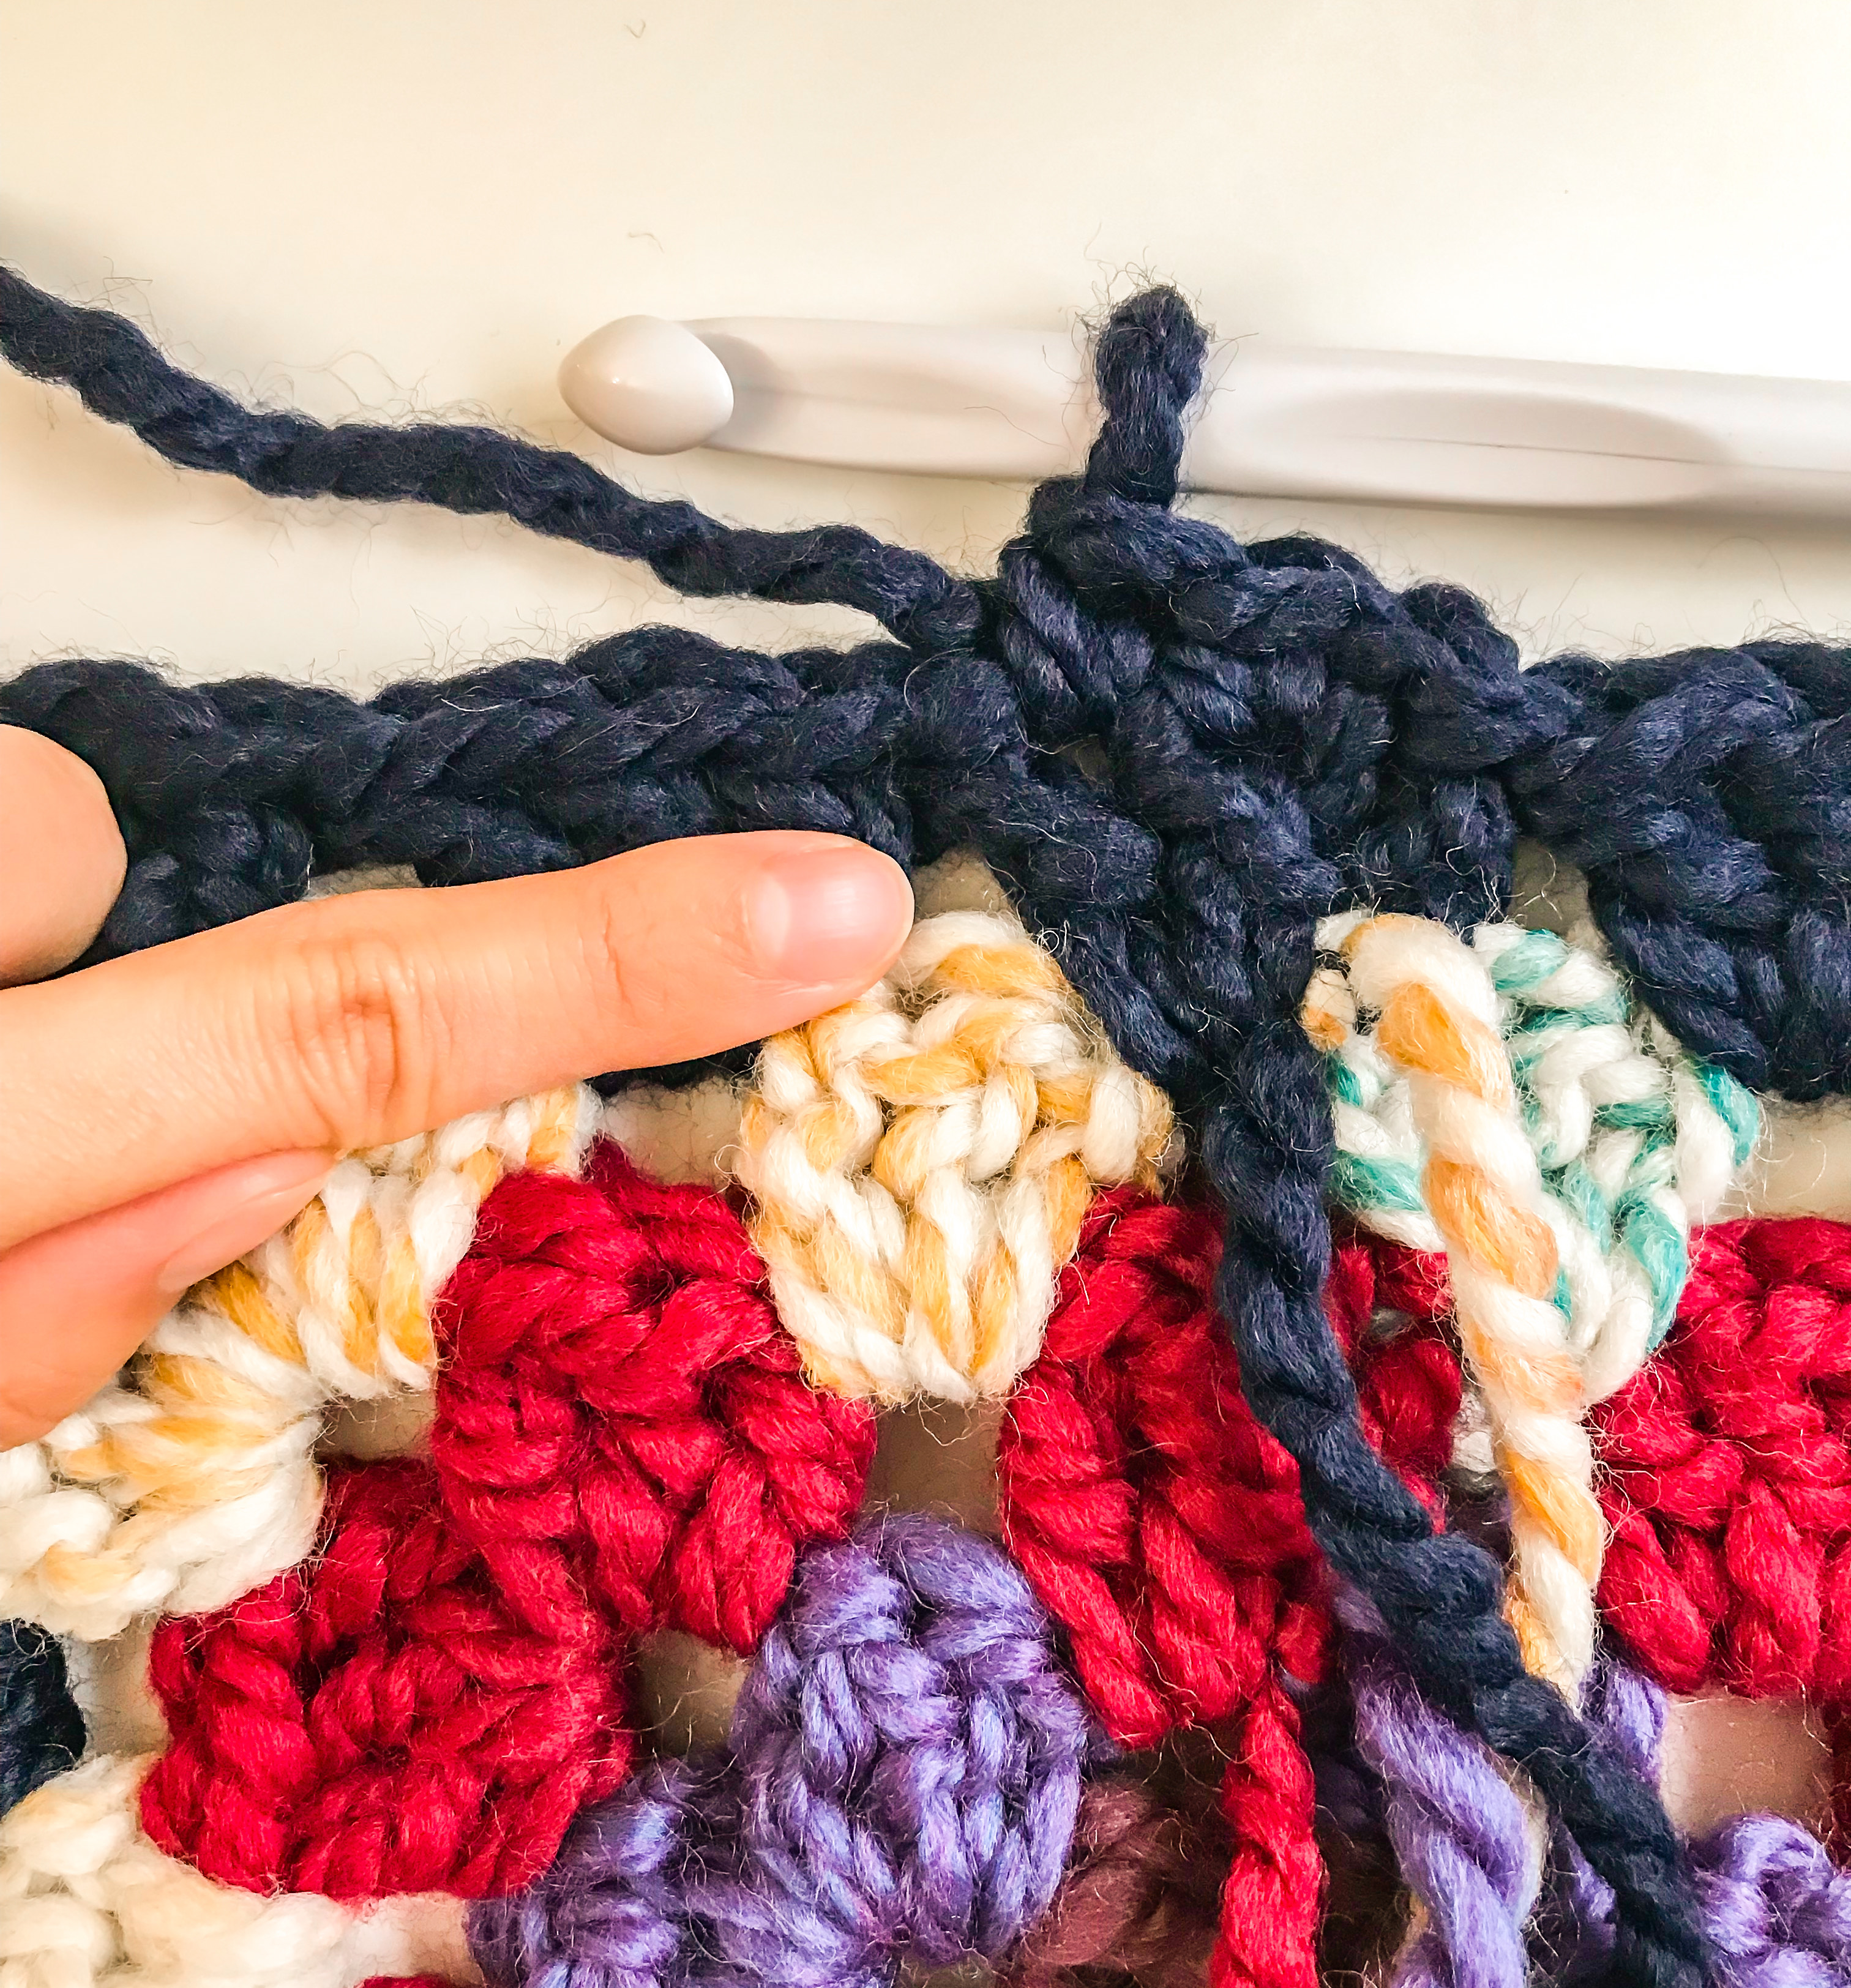
How to change yarn colors:

When you reach the very last stitch of the round, DO NOT complete the

last “yarn over and pull through” of that stitch – instead, use the next

color to pull through and complete that final stitch. Cut the previous

yarn color, leaving a 4 to 5” tail, and tie it to the tail of the new yarn

color you just attached.


Granny Square Directions:


Round 1: Ch 3, and sl st to the 1st ch to create a loop.

Then, ch 2 (counts as 1st dc), and work 2 dc into the loop. Ch 2 (creates

1st “corner”) *work 3 dc into the same loop, ch 2* repeat from * two

more times, creating 4 dc clusters total. Then insert hook as if to sl st to

the top of the beginning ch 2, and pull through with a new color.


Round 2: Ch 2, turn work. Work 2 dc into the 1st ch-2 space from round

below. 

Ch 2, and work 3 dc into the SAME ch-2 space (this creates the

1st corner for this round). *3 dc in the next ch-2 space from the

previous round, ch 2, 3 dc in the SAME space* 

Repeat from * two more

times*, once in each remaining ch-2 space from the previous round.

Then insert hook as if to sl st to the top of beginning ch 2, and pull

through with a new color.

Round 3: Ch 2, turn work. Work 2 dc into the 1st cluster space from

round below. 

Then, work 3 dc into the next ch-2 space from previous

round. 

Ch 2, and work 3 dc into the SAME ch-2 space from the previous

round (creating the 1st corner of the round) *work 3 dc into the next

cluster space from the previous round. 


Then, work 3 dc into the next ch-2 space from previous round. Ch 2, and work 3 dc into the SAME ch-2 space from the previous round (creating another corner)* Repeat from * around, putting a 3 dc cluster into each regular cluster space from the previous round, and 3 dc, ch 2, 3 dc into each “corner” of the round. Then insert hook as if to sl st to the top of the beginning ch 2, and pull through with a new color.


Round 4: Ch 2, turn work. Work 2 dc into the 1st cluster space from

round below. Then, work 3 dc into the next ch-2 space from previous

round. Ch 2, and work 3 dc into the SAME ch-2 space from the previous

round (creating the 1st corner of the round) *work 3 dc into each of the

next 2 cluster spaces from the previous round. Then, work 3 dc into the

next ch-2 corner space from previous round. Ch 2, and work 3 dc into

the SAME ch-2 corner space from the previous round (creating another

corner)* 

Repeat from * around, putting a 3 dc cluster into each regular

cluster space from the previous round, and 3 dc, ch 2, 3 dc into each

“corner” of the round. Then insert hook as if to sl st to the top of the

beginning ch 2, and pull through with a new color.

Round 5: Ch 2, turn work. Work 2dc into the 1st cluster space from

round below. Then, work 3 dc into the next ch-2 space from previous

round. Ch 2, and work 3 dc into the SAME ch-2 space from the previous

round (creating the 1st corner of the round) 

Continue around, putting a 3 dc cluster into each regular cluster space from the previous round, and 3 dc, ch 2, 3 dc into each ch-2 space “corner” of the round. Slip stitch to the top of the beginning ch 2 to join round.

Round 6: Ch 1 (do NOT turn), and work 1 sc into each stitch (or between each cluster space from previous round), 


and work 3 sc in each ch-2 space “corner” from the previous round, working around the entire round. 


Slip stitch to the 1st sc of the round to join. 


Cut yarn, and pull through. Weave in all ends into the “back” (wrong side) of square. All finished! 😊


I used this granny square pattern to design my Blooming Garden Blanket in the pics below!


You can find all the details (which yarn colors / combinations I used for every single square, how to sew them together, how to finish the blanket off with a fun border, etc.) in the instant-download, printable PDF crochet pattern in my etsy shop HERE.


Happy crocheting!

~Brenna 🌻


Find + Follow Me:


All content property of BrennaAnnHandmade 2014-infinity.